Microsoft admt 3.2 password migration problem

Situation: the client followed all the steps in using admt 3.2 to migrate users and passwords but for some reason he was stuck on the Password Options Migrate passwords screen in ADMT with this message”Unable to establish a session with the password export server. The local machine does not have an encryption key for source domain ‘SERVER2012’. Please install a local encryption key. See the ADMT help for information on password migration.”

Quoted from online:

A new PES key was generated under the credentials of my TargetDomain migration account, and PES service was reinstalled on PDC.SourceDomain – – no improvement.

Contrary to the MS ADMT3.2 documentation [p65] we changed the PES service account credentials from Targetdomain\PES_account  to  SourceDomain\Mig

I can now successfully perform password migration within ADMT3.2 User Migration… using either  Targetdomain\PES_account  or  SourceDomain\Mig  as the account running ADMT on ADMT platform [GC-DC.TargetDomain.TargetForest.local]

The only outstanding question is WHY ?

– Why is the MS documentation not tallying with experience ?

– why has no one else explicitly blogged / newsgrouped this config ?

Ah well – running PES under a Source admin acocunt seems to work.
 

DHCP Relay doesn’t work Cisco SG300 switch VLAN

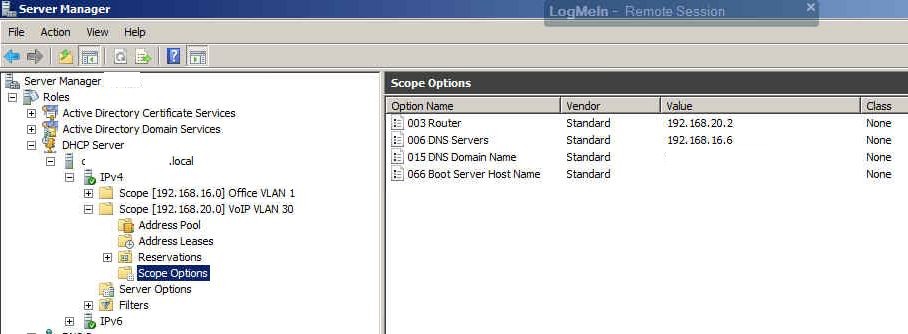
Situation: the client created DHCP for VoIP 192.168.20.0/24 on the Windows server.

On the Cisco SG300, he also configured DHCP Relay for VoIP VLAN. command: ip dhcp relay address 192.168.20.0, ip dhcp relay enable.

However, phone devices on VoIP VLAN don’t receive the IP addresses from the DHCP.

Troubleshooting: on «DHCP Relay Server Table» you need to add the Windows Server IP Address and then, on DHCP> Interface Settings you need to add the VLAN where you want to apply the relay.


How to configure routing on SonicWall

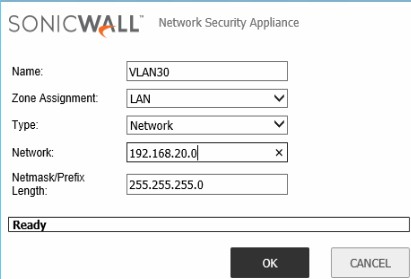
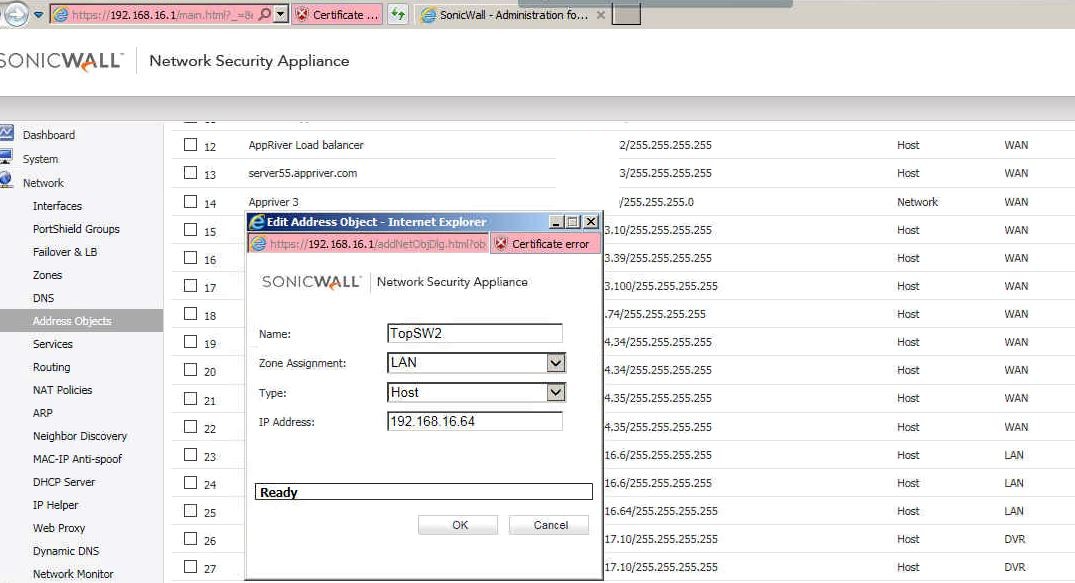
Situation: The client create two VLAN, VLAN 1 (192.168.16.0/24) for data and VLAN 30 (192.168.20.0/240 for VoIP. They  would like the VoIP access to the Internet and VLAN 1 can 1. Add VLAN 30 network to the Address Objects in SonicWALL by going to Network>Address Objects. Enter VLAN30 as Name, select LAN as Zone Assignment, Type=Network, Network=192.168.20.0, Netmask 255.255.255.0.

2. Address Objects in SonicWALL by going to Network>Address Objects. access VLAN 30. Enter Name (TopSW2 in our example), Zone Assignment (LAN=VLAN 1), Type (host, don’t put network here because this is for routing), IP address (192.168.16.64 which is VLAN 1  IP address for the switch. Don’t put VLAN 30 IP address here, otherwise the router doesn’t know to route the traffics).

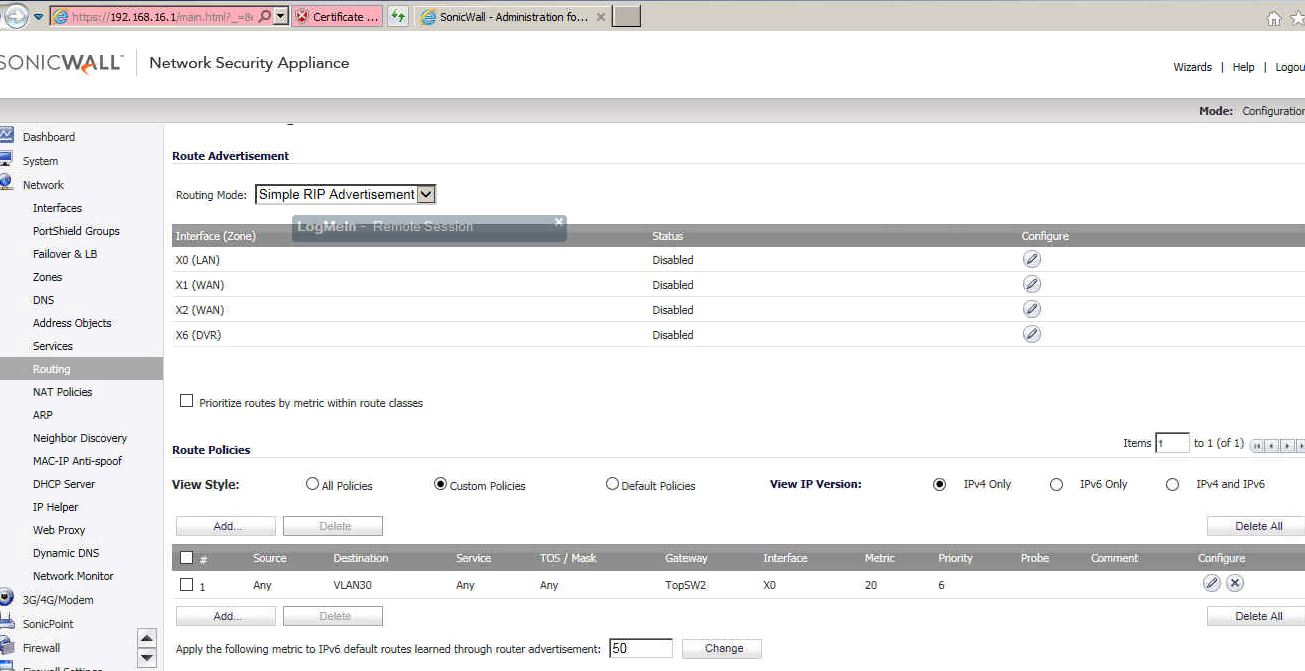
3. Click Routing under network.

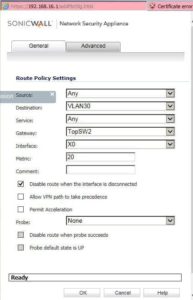
4. Click Add under Route Policies. Enter or select these info: Source=Any, Destination=VALN30, Service=Any, Gateway=TpSW2 (which we added above), Interface=X0 (which SonicWALL connecting to VLAN 1).

5. Click OK to save the configuration.

6. Test it.

How to enable Desktop Experience in Windows 2012 R2

Go to Server Manager.
Click Manage in the upper right corner.
Click Add Roles and Features.
Click Next > Next > Next.
At Server Selection select your server.
Click Next > Next.
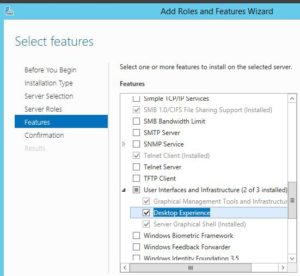
At Features expand User Interfaces and Infrastructure.
Check Desktop Experience.
If an Add Roles and Features Wizard window pops up with a list of features required for Desktop Experience , just click Add Features.
Click Next > Install.
Restart your server.