Situation: When attempting to run Excel on a PC, you may receive this error message: We’re sorry, but Excel has run into an error that is preventing it from working correctly”
Resolution 1: Check the status of Windows update. You may need to download and install the Latest Windows update and restart the computer.
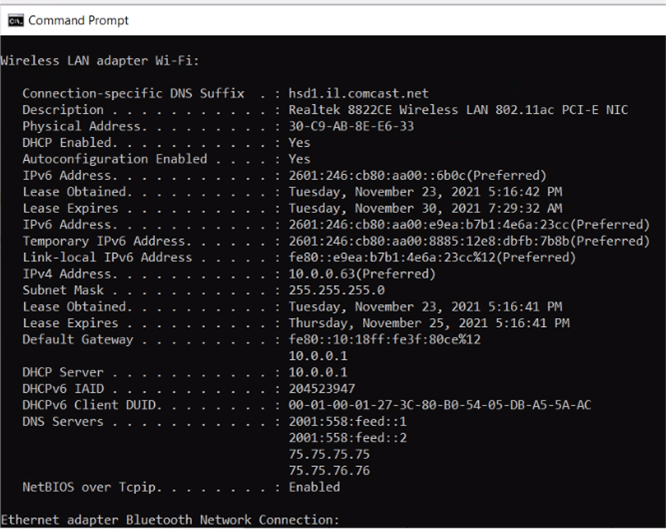
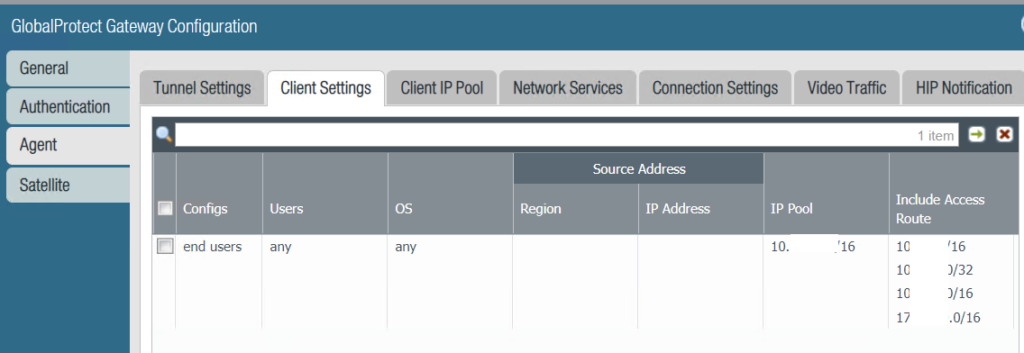
Situation: The client uses Palo Alto Firewall GloablProtectr VPN for remote users to access the LAN resources. Many Xfinity modems assign 10.0.0.0/24 IP range which conflicts with the LAN 10.0.0.0/16. The VPN users may not be able to access some LAN resources, for example 10.0.0.40.
Resolution: Adding the IP address to the GolablProtect rotuing table with 32 slash. for example 10.0.0.40/32. To do that, go to Network>GloblProtect>Gateway. Click on the Gateway and go to Agent>Client Settings. Add 10.0.0.40/32 to the routing table.
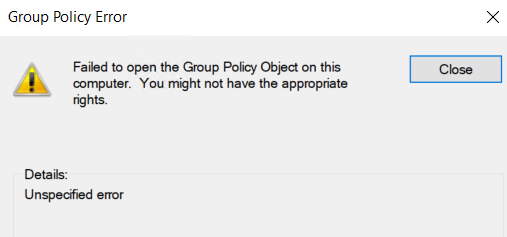
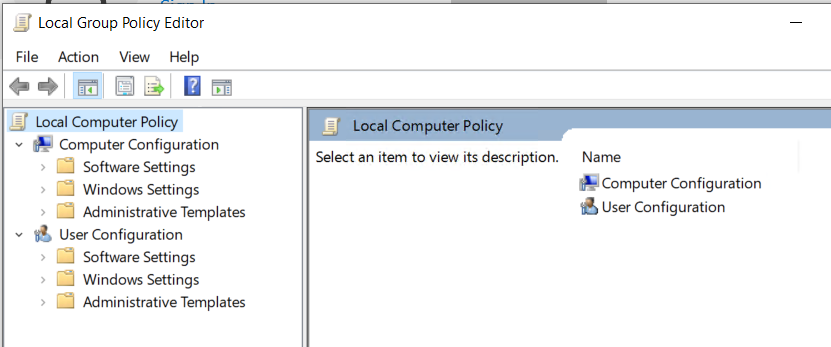
Situation: The client just removed a computer from the domain and he can’t run Group Policy Editor with this message: “Failed to open the Group Policy Object on this computer”.
Resolution 1: Update the group policy.
After the machine is dis-joined from the DC, login using the local administrator account.
Go to Start (open the Start menu) > Run (open the Run app), and type ‘cmd’ (without the quotes) and press Enter. [Or open the Start menu and then run the Command Prompt program.]
Type gpupdate /force /boot and press Enter.
Once it’s complete, reboot. The old group policy is gone.
Resolution 2: Open an elevated command prompt and type the following command:
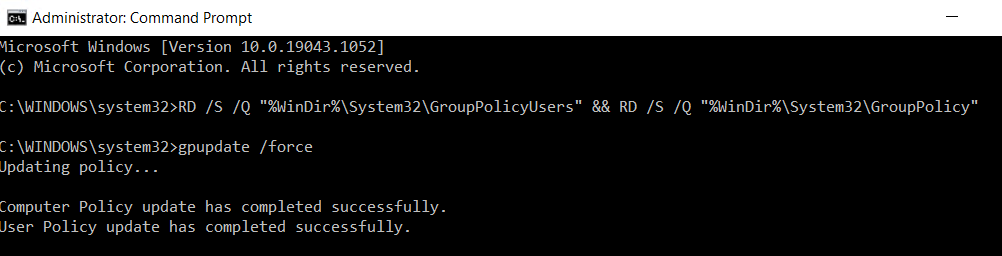
Resolution 3: Reset all Local Group Policy settings to the default using Command Prompt
Open Start.
Search for Command Prompt, right-click the top result, and select the Run as administrator option.
Type the following command to reset all the Group Policy settings and press Enter:RD /S /Q "%WinDir%\System32\GroupPolicyUsers" && RD /S /Q "%WinDir%\System32\GroupPolicy"
Type the following command to update the changes in the Local Group Policy console and press Enter:
gpupdate /force
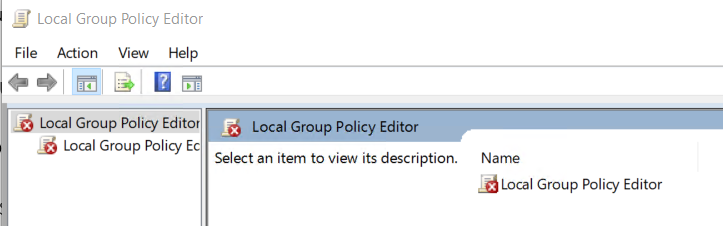
5. You should be able to open the Local Group Policy Editor.
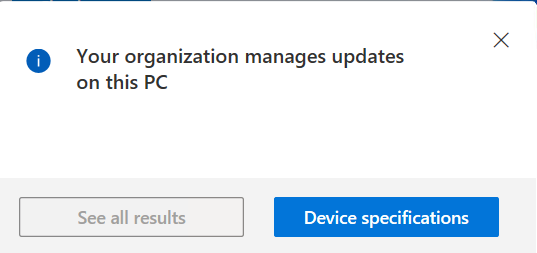
Situation: When running Windows 11 Update Check to check the capability, you may receive this message: “Your organization manages updates on this PC”.
Resolution 1: Disconnect\remove any school or work accounts by going to Settings->Accounts->Access work or school.
Resolution 2: A domain computer may receive this message too. If this is no long to be a domain computer, you can remove it from the domain by going to System Properties>Computer Name.
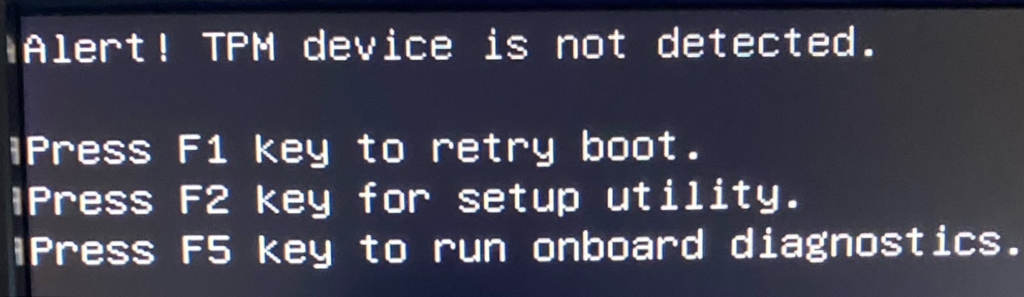
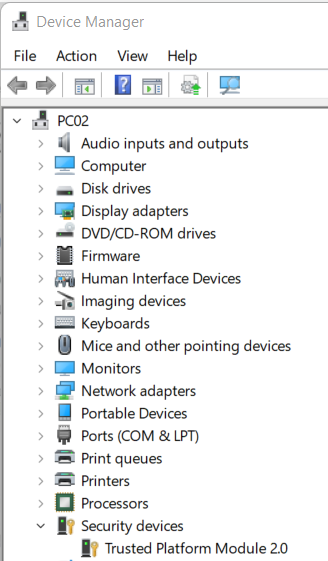
Situation: when turn on your computer, you may receive this message: “Alert! TPM device is not detected”
Note: TPM is stand for Trusted Platform Module, which is a security chip on the motherboard which stores all passwords and security-related data.
Resolution 1: Press F2 to access the BIOS and check if it comes with TPM. If so, please enable it.
Resolution 2: If the BIOS doesn’t have TPM, you may want to install the latest BIOS.
Resolution 3: If TPM has been enabled or you have a problem to update the BIOS, unplug the power cord and turn off the computer for 30 seconds. Then try it.
Resolution 4: if the TPM has been enabled on the BIOS, but tpm.mcs doesn’t show it, you may need to reinstall rusted Platform Module Driver. You can do that in Device Manager> Security devices.
Resolution 5: If the computer doesn’t come with TPM, press F1 to contunie.
Situation: When opening Outlook, you may receive this message: “Outlook.ost Has Reached Its Maximum Size”.
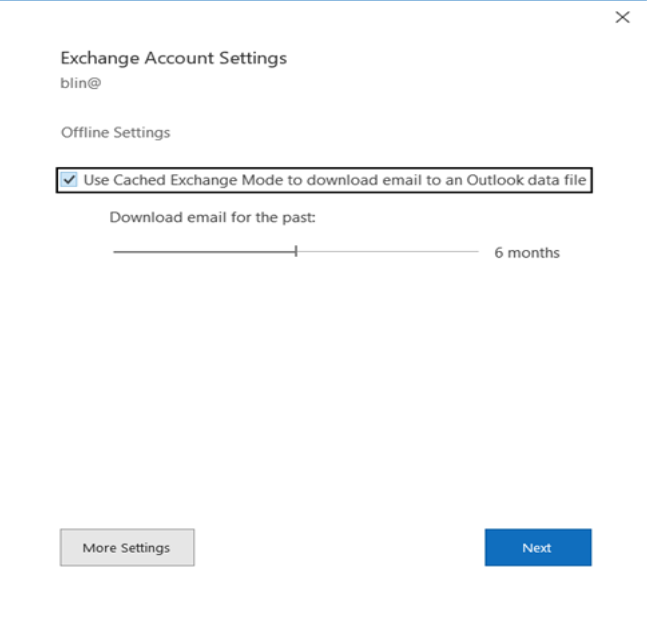
Resolution 1: Reduce the size of your Outlook data file by moving or archiving items from the file. To archive items from the file, configure the Cached Exchange mode settings. Here are step by step:
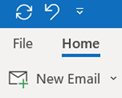
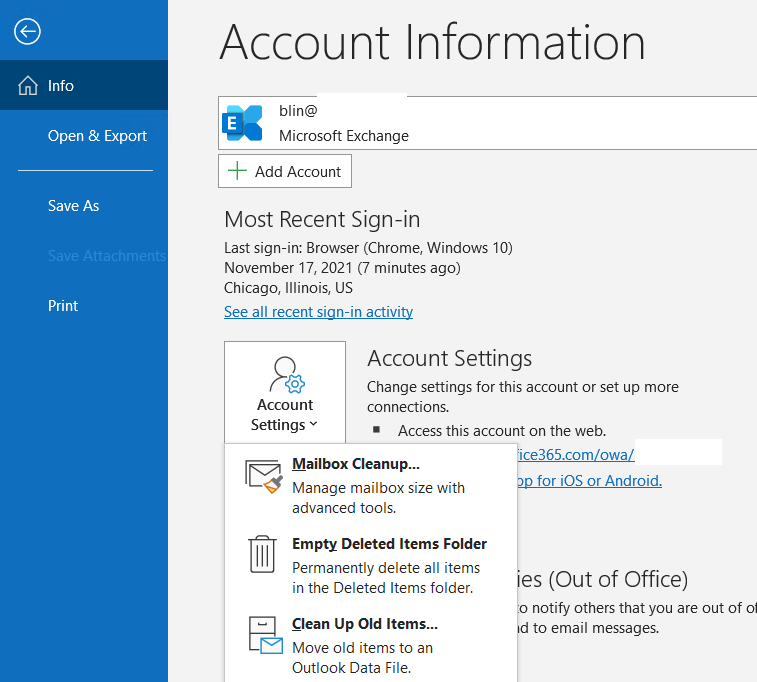
With Outlook open, on the File tab.
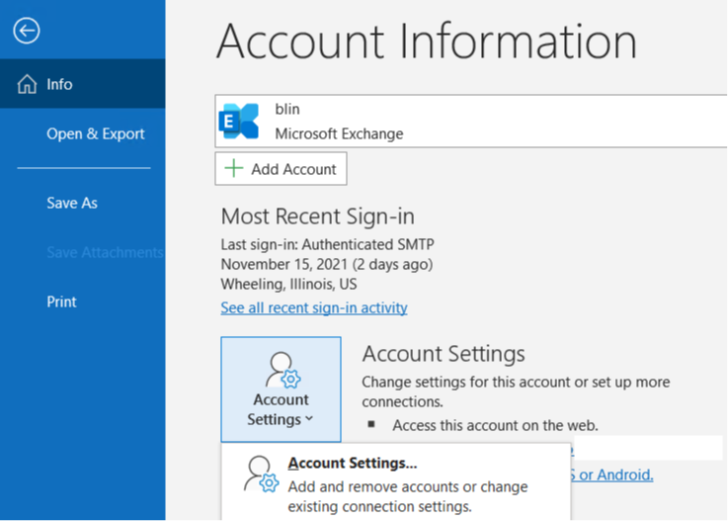
2. Click Account Settings, and then click Account Settings.
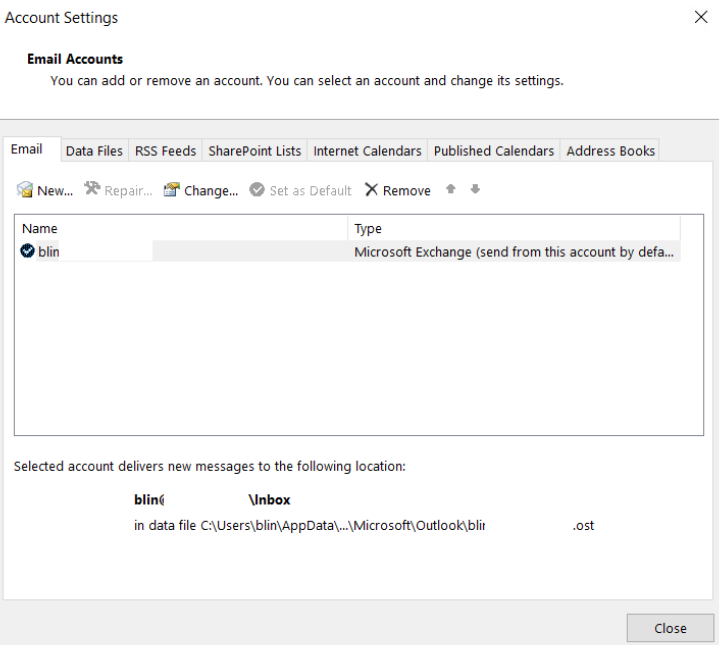
3. On the E-mail tab, double-click your Microsoft Exchange account.
4. In the Change Account dialog box, drag the Mail to keep offline slider to the desired number of months, for example 6 Months which will archive emails before 6 months.
5. Click Next.
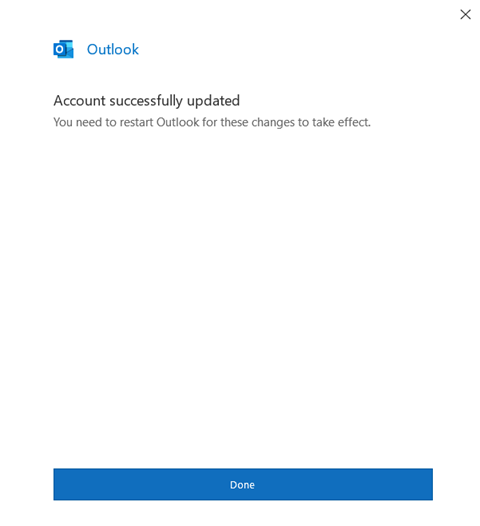
5. Click Done when you’re prompted to restart Outlook to complete the configuration change.
6. Restart Outlook.
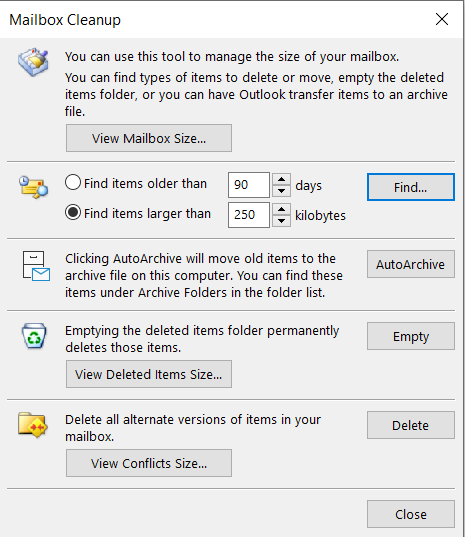
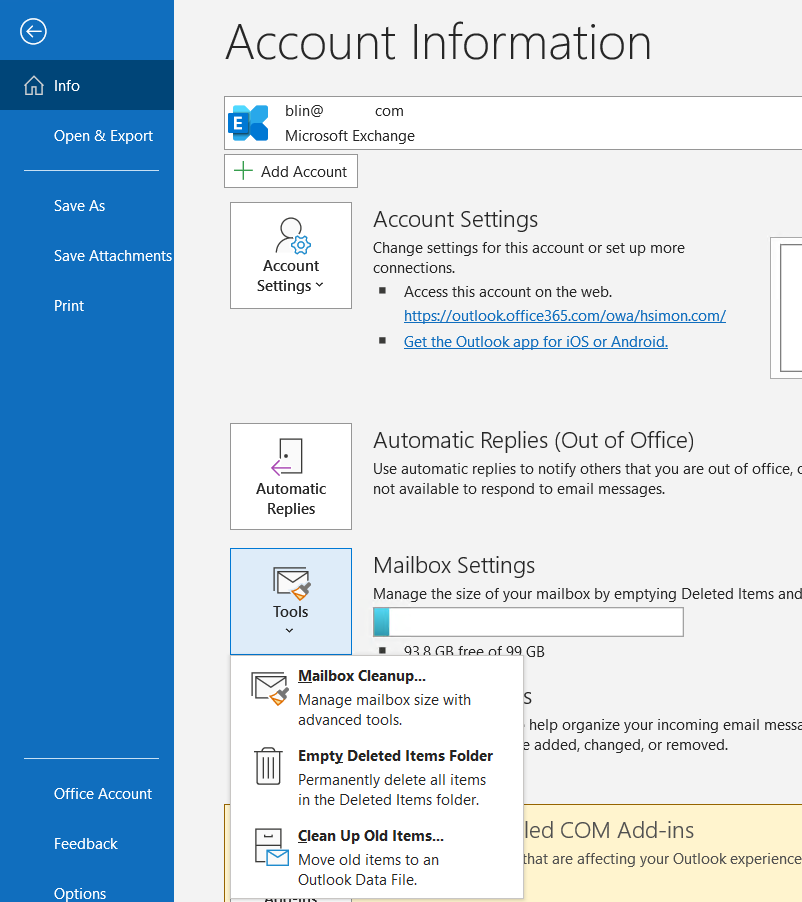
Resolution 2: Run the Mailbox Cleanup tool to reduce the size of your mailbox and Outlook Data Files (.pst and .ost)
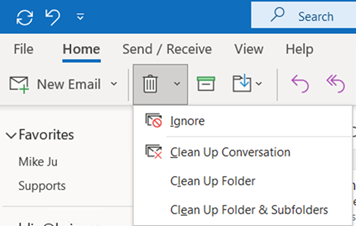
Resolution 3: Use Conversation Clean Up to remove redundant messages
On the Home tab, in the Delete group, click Clean Up.
Click one of the following:
Clean Up Conversation The current Conversation is reviewed, and redundant messages are deleted.
Clean Up Folder All Conversations in the selected folder are reviewed, and redundant messages are deleted.
Clean Up Folder & Subfolders All Conversations in the selected folder and any folder that it contains are reviewed, and redundant messages are deleted.
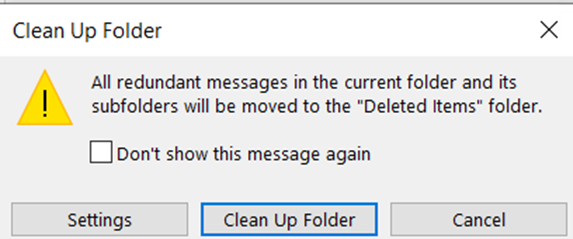
3. In popup, click Settings or Clean Up Folders.
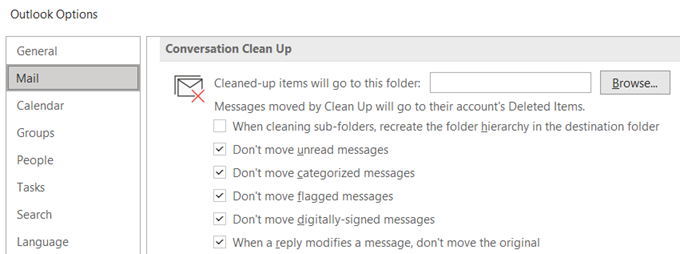
Note: if you click on Settings, you have options to configure Conversation Clean Up.
Note: The Clean may take a few minutes. When it is done, you may want to empty the Deleted Items folder or the folder you move the duplicated emails.
Resolution 4: Archive old emails
Click the File tab.
2. Click Tools > Clean Up Old Items.
3. Select the folder you want to archive, archive items older then, Archive location. Then click on OK.
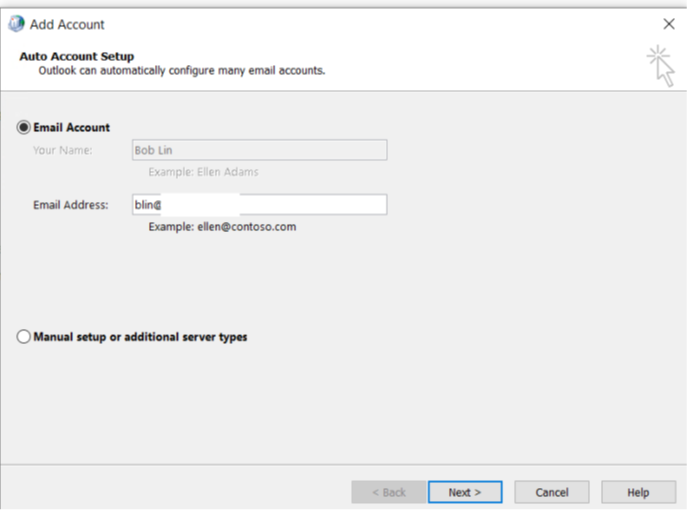
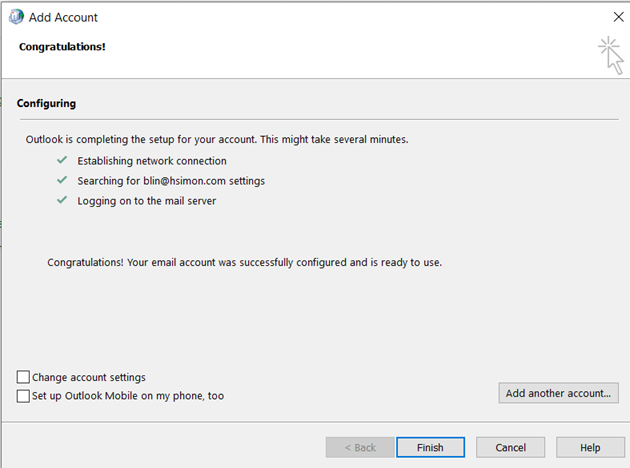
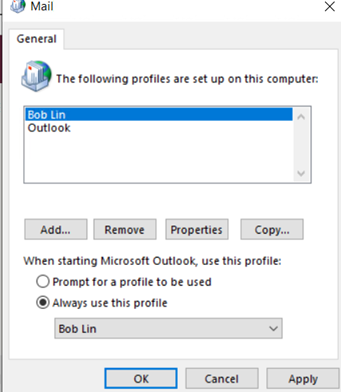
Resolution 5: Create a new email profile
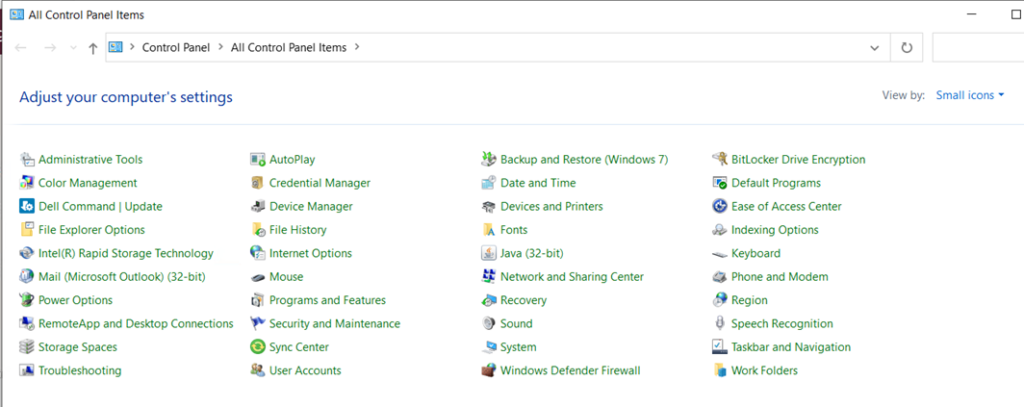
1.Open Control Panel.
2.Click on Mail. If you don’t see Mail. Choose Small Icons in View by.
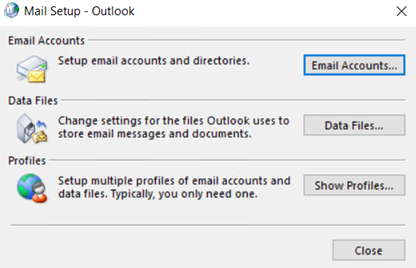
3. With Mail Setup – Outlook open, click on Show Profile.
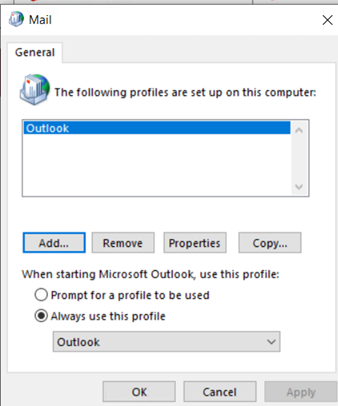
4. Click Add to add a new Outlook profile.
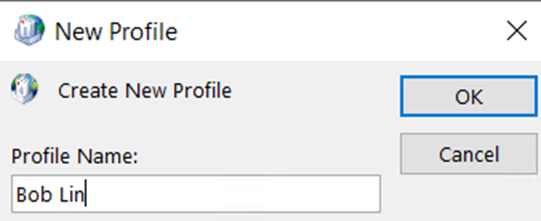
5. Enter the Profile Name
6. Follow the wizard to add the email
7. Click Finish when completing the settings.
8. Select the new Profile you just created and click on OK.
9. Restart the Outlook which will run a new Outlook profile and should fix the problem.
Situation: The client has a printing problem from his Laptop or iPhone. Sometimes and some devices may not be able to send printing job to HP LaserJet printer.
Resolution: Installing latest firmware on HP printer fixes the problem.
Situation: After upgrading Android V11 to V12, DJI app doesn’t work anymore. You just can’t open DJI app.
Resolution: A new version of DJI GO 4, with support for Android 12, is now available to download direct from DJI: https://www.dji.com/ca/downloads/djiapp/dji-go-4 (sorry the forum won’t let me make it clickable).