office 365 Failed to send a test message using SMTP Service

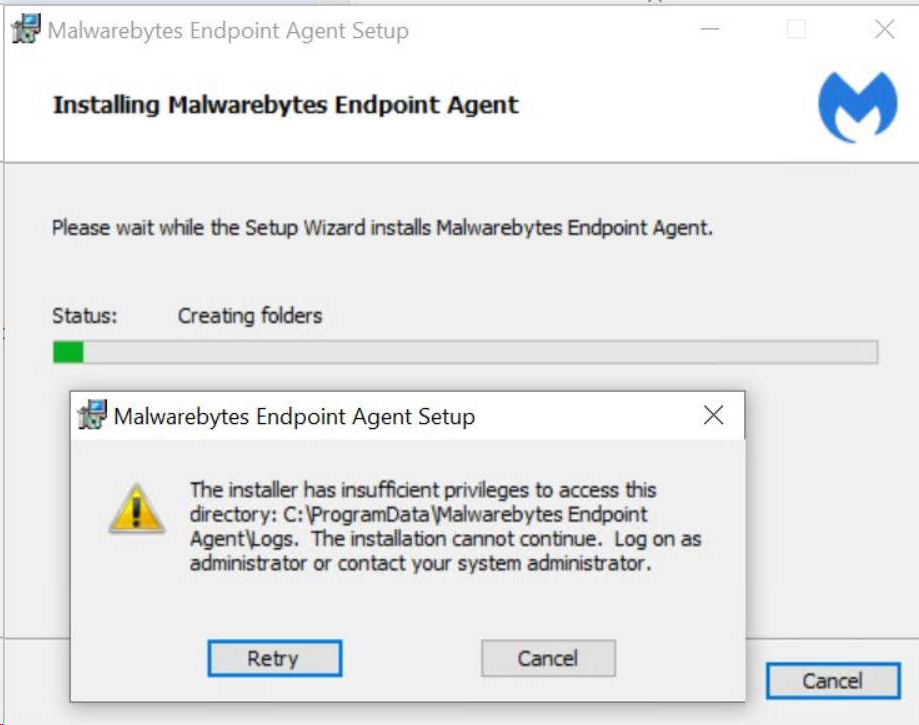
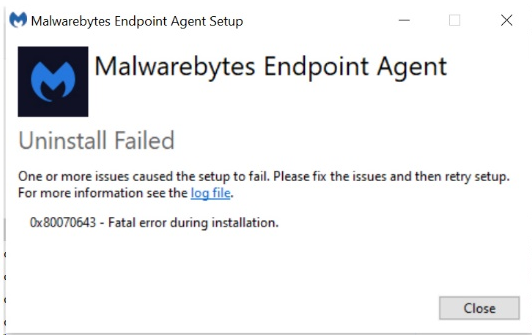
Situation: The client has QNAP storage. They can’t send notification with this error: Failed to send a test message using SMTP Service.

Troubleshooting: 1. SMTP settings is correct and test is fine.

Device or Application settingValue
Server/smart hostsmtp.office365.com
PortPort 587 (recommended) or port 25
TLS/StartTLSEnabled
Username/email address and passwordEnter the sign in credentials of the hosted mailbox being used

2. However, test sent to Recipient failed.

3. We find Microsoft article, “How to set up a multifunction device or application to send email using Microsoft 365 or Office 365” mentioned: “Option 1 (recommended): Authenticate your device or application directly with a Microsoft 365 or Office 365 mailbox, and send mail using SMTP AUTH client submission. This option is not compatible with Microsoft Security Defaults or multi-factor authentication (MFA). If your environment uses Microsoft Security Defaults or MFA, we recommend using Option 2 or 3 below”.

$. the option 2 and option 3 are “Option 2: Send mail directly from your printer or application to Microsoft 365 or Office 365 (direct send)” and “Option 3: Configure a connector to send mail using Microsoft 365 or Office 365 SMTP relay”.

4. We use option 2 fixes the problem. Here is the settings

Device or application settingValue
Server/smart hostYour MX endpoint, for example, contoso-com.mail.protection.outlook.com
PortPort 25
TLS/StartTLSEnabled
Email addressAny email address for one of your Microsoft 365 or Office 365 accepted domains. This email address does not need to have a mailbox.

We recommend adding an SPF record to avoid having messages flagged as spam. If you are sending from a static IP address, add it to your SPF record in your domain registrar’s DNS settings as follows:

DNS entryValue
SPFv=spf1 ip4:<Static IP Address> include:spf.protection.outlook.com ~all

Please refer to this how to:

How to setup Notification on QNAP

NIC error: An unexpected error occurred

Situation: When attempting to open a Network Interface Card (NIC) or click on the Property of the NIC, you may receive this popup message: An unexpected error occurred.

Cause: It may cause because some DLL files or registry settings were damaged; it could a bad hardware like cable.

Resolution: 1. Unplug the network cable and then try it.

2. Run SFC (System File Checker ) Utility to check and fix Corrupted System Files. To do that, run command prompt,

Type sfc /scannow, and then press ENTER

3. Modify the registry.

  • Type cmd in the search bar, and select run as administrator.
  • In the Command Prompt, type regsvr32 %systemroot%\system32\ole32.dll, and then click OK.
  • In the RegSvr32 dialog box, click OK.
  • Restart the computer.

Malwarebytes dosen’t scan

Situation: The client has Malwarebytes cloud version. They find some machines don’t scan or need to scan for over one week.

Troubleshooting: 1. Make sure both Malwarebytes service and Malwarebytes Agent service are running.

2. Or you need to re-install the Malwarebytes Endpoint Agent. To do that, 1) uninstall it from Control Panel. 2) If the uninstall doesn’t work, try Support Command Tool downloaded from Malwarebytes. Refer to this post:

Malwarebytes Endpoint Agent Uninstall Failed with code: 80070643

3) Then re-install Malwarebytes Endpoint Agent.


Net use error: network connection could not be found

Situation: The File Explorer shows “Disconnected Network Drive (Z:)” with red forever. Net use Z: /delete gets an error The network connection could not be found.

Resolution 1: Remove it by using a scheduled task, for example open an elevated CMD prompt and type the following:

If you wish it to run at 13:00 (1:00 PM) and the drive letter to remove is “Z:”

AT 13:00 NET USE Z: /DELETE /Y

Open explorer and you will see the drive letter is now removed.

Resolution 2: create and run a batch file, for example del.bat including these commands:
net use * /delete /y
taskkill /f /IM explorer.exe
explorer.exe

Note: substitute your own net use [Z]: /delete command for specific mapped drive letters on Z.

Resolution 3: Use registry Editor.

Go to HKEY_CURRENT_USER/Network

Now remove the letter you want in this case Z, and restart the computer. issue is fixed.

Windows 10 runs slow after installing KB4559309 update

Symptoms: 1.  Startup time and loading are very slow.

2. Attempted to uninstall the update may be failed with this message it is required and cannot be removed.

3. The new Edge browser has messed up the fonts so some sites are almost unreadable. Everything is very thin and pixelated. It also somehow affected google chrome, the fonts are just as bad there now.

4. After installing this update (on windows 2004) office products suddenly use up 25-40% of the CPU. 

5. Since this update downloaded, my mouse cursor disappears but clicks on tabs randomly, closing things, selecting text, deleting text, opening and closing programs – it’s an absolute mess.

6. Slow performance.

7. Crashes or BSOD.


Resolution: 1. uninstalling the KB Update KB:4559309 using wusa command. Here is how.
1. Type cmd in the search box
2. Right click on it and the select run as administrator.
3. In Command Prompt, type this command wusa /uninstall /kb:[id]
Example: wusa /uninstall /KB:4559309
4. Press Enter enter.

5. Now perform Clean Boot. In the search bar, type msconfig.

6. In the General of System Configuration Utility, check the selective startup and make sure that load system service and load startup items both have checked mark.

7. Click on services tab

8. Select on Hide All Microsoft Services.

9. Once Hide all Microsoft Services have checked mark on it, click on Disable All

10. Click on the Startup Tab and then click open task manager.

11. Disable all application that you don’t want to run in this troubleshooting.

12. Click OK , Apply the settings.

10. Restart your pc and test it.

Resolution 2: Try system restore.

Resolution 3: In one case, after re-installing the chipset drivers everything seems to be operating normally

Resolution 4: In another case, install Windows 10 version 2004 and the latest updates.

Resolution 5:  The problem can be fixed by reinstalling the motherboard drivers or install latest the motherboard driver.

Resolution 6: Disabling BitLocker and everything went back to normal.

Resolution 7: Uninstall new Edge Chromium by opening cmd and then typing 

“C:\Program Files (x86)\Microsoft\Edge\Application\83.0.478.56\Installer\setup.exe” –uninstall –system-level –verbose-logging

In bold it can be possible that you have an older version, then change version number accordingly like in “C:\Program Files (x86)\Microsoft\Edge\Application”Reply 

Windows Activation error code: C004C003

Situation: You may see Windows Activation error code: C004C003 in your Windows 10 computer.

Troubleshooting: 1. In many cases, you may get this error code because the activation server is busy. You can wait for while.

2. Or just click Troubleshooting under Windows Activation.

3. If 1 or 2 don’t fix the problem and you are sure you have a valid license, you may try slmgr.vbs –rearm command to force Windows 10 to activate.

  • Type cmd in the search bar. Right click on Command Prompt and select run as admin.
  • In the command prompt type the command slmgr.vbs –rearm and pressing the Enter key. Wait for a couple of minutes and reboot your PC.

4. If you need to call the Microsoft support and don’t know the license key, you can get it by running a command.

  • Type cmd in the search bar. Right click on Command Prompt and select run as admin.
  • In the command prompt enter wmic path SoftwareLicensingService get OA3xOriginalProductKey command. It will show the Windows product key.

Please view this step by step video: