- Open a colorful image duplicate it.
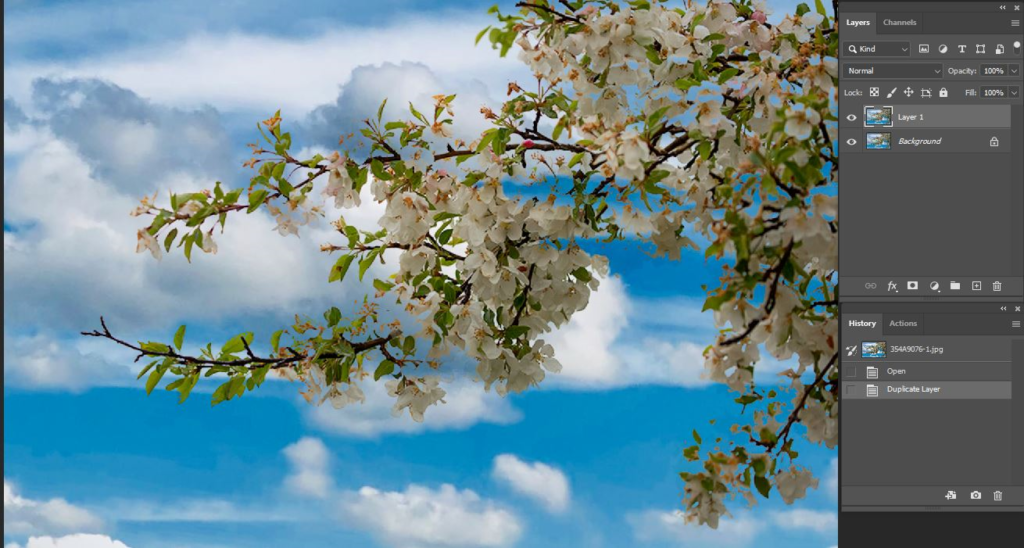
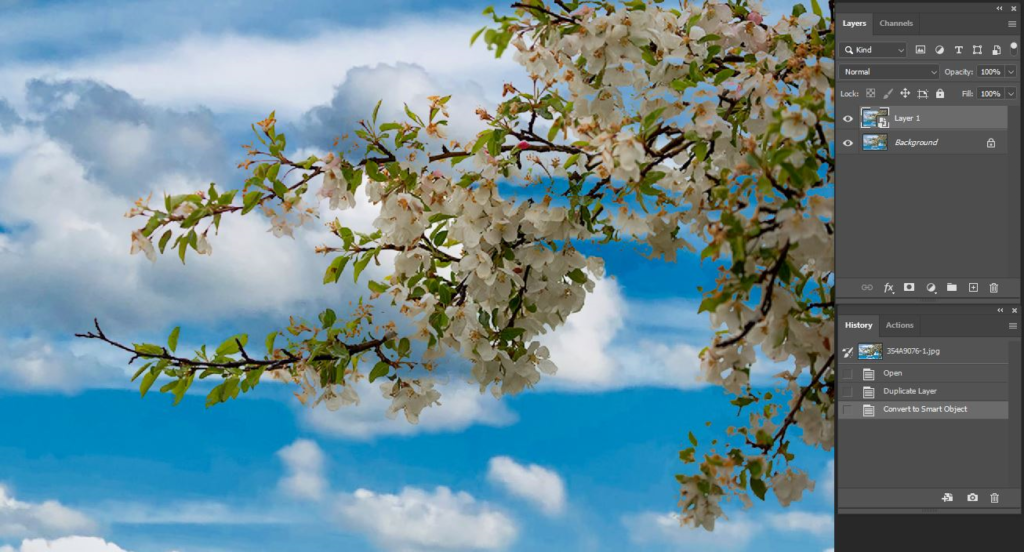
2. We may want to Convert to Smart Object by going Layer>Smart Objects. Note: that give a chance to make change Mezztint or Twirl later.
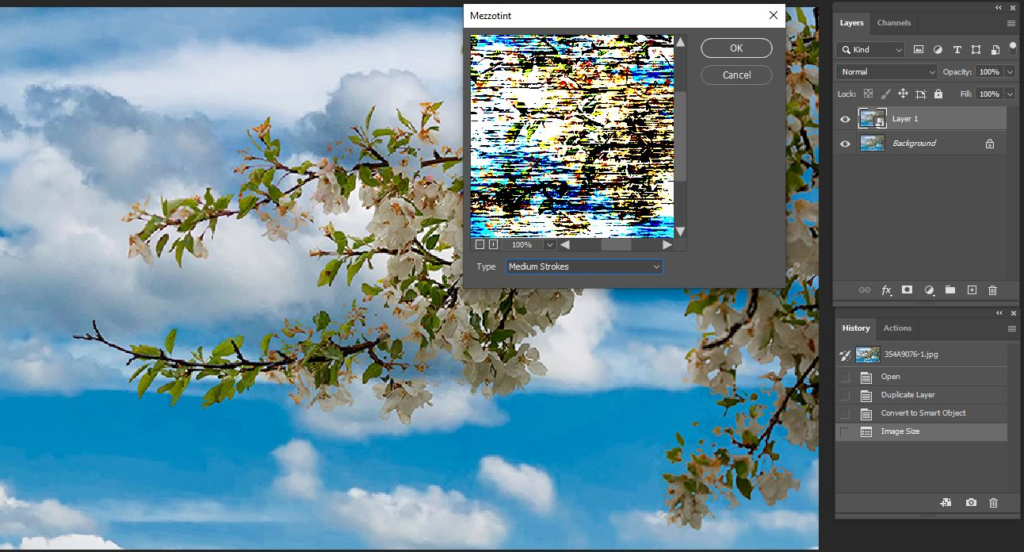
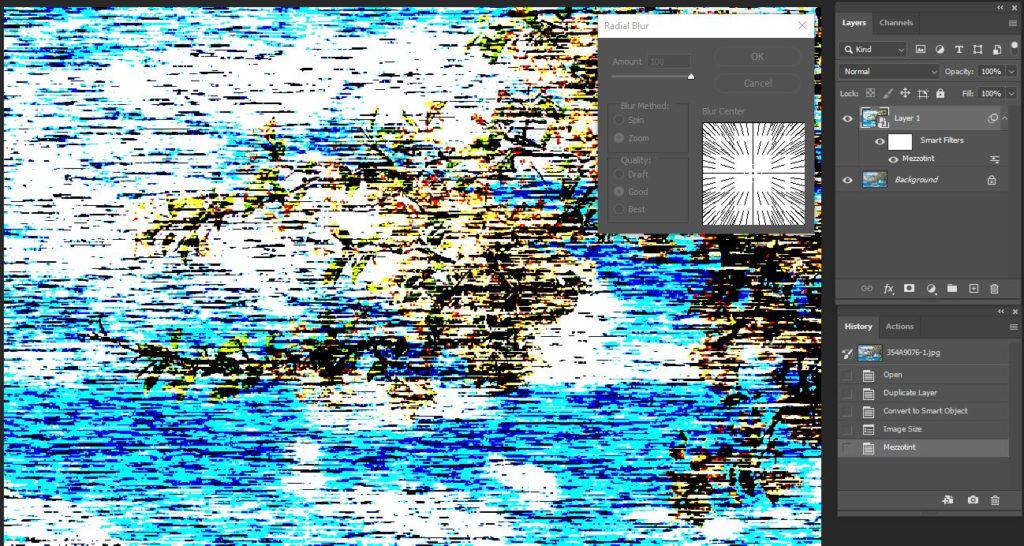
3. Create Mezzotint by going to Filter>Pixelate. Select the style you want (Medium Strokes in our example).
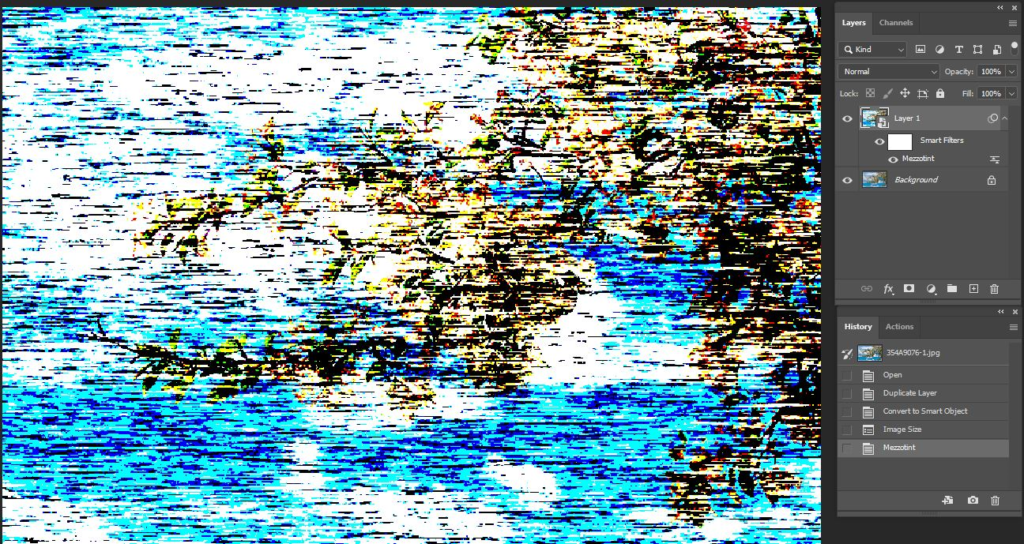
4. This is the result of Mezzotint.
5. Run Radial Blur by going to Filter>Blur. Select Zoom and Draft at the first time. Run Radial Blur again with Zoom and Good selection. Run Radial Blur the third times with Zoom and Best selection.
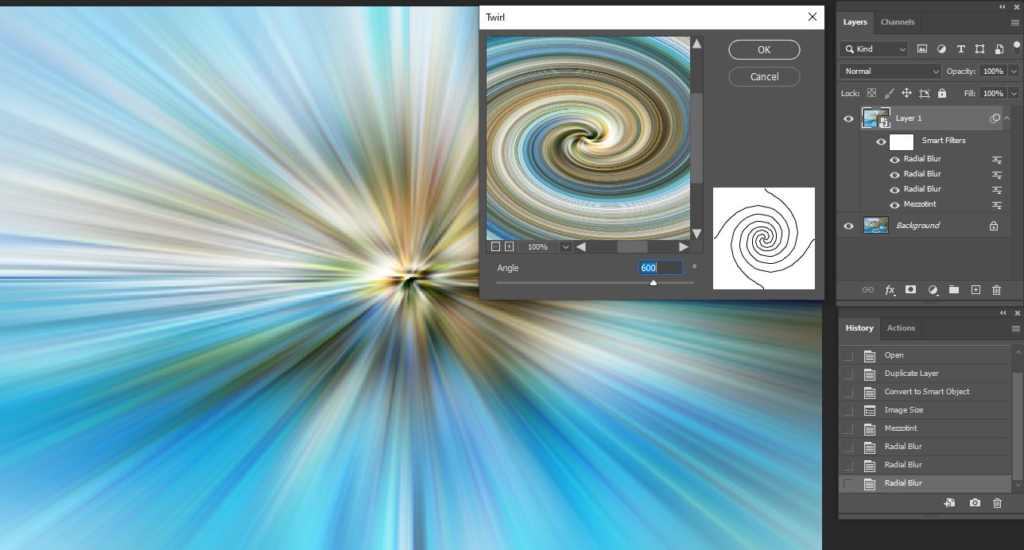
6. Run Twirl by going to Filter>Distort. Adjust Angle,, 600 in our example.
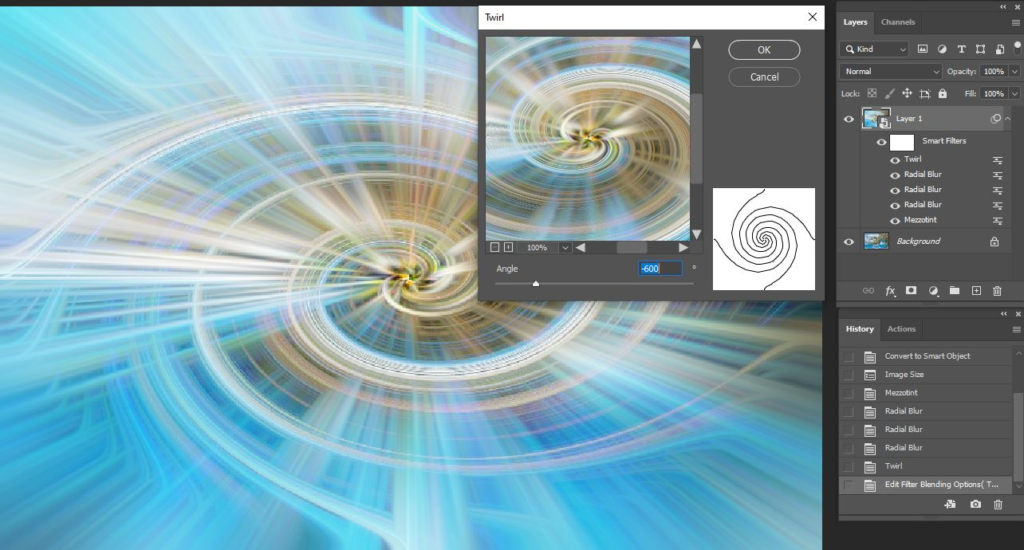
7. Duplicate the layer then redo 5 and 6 with Angle -600.
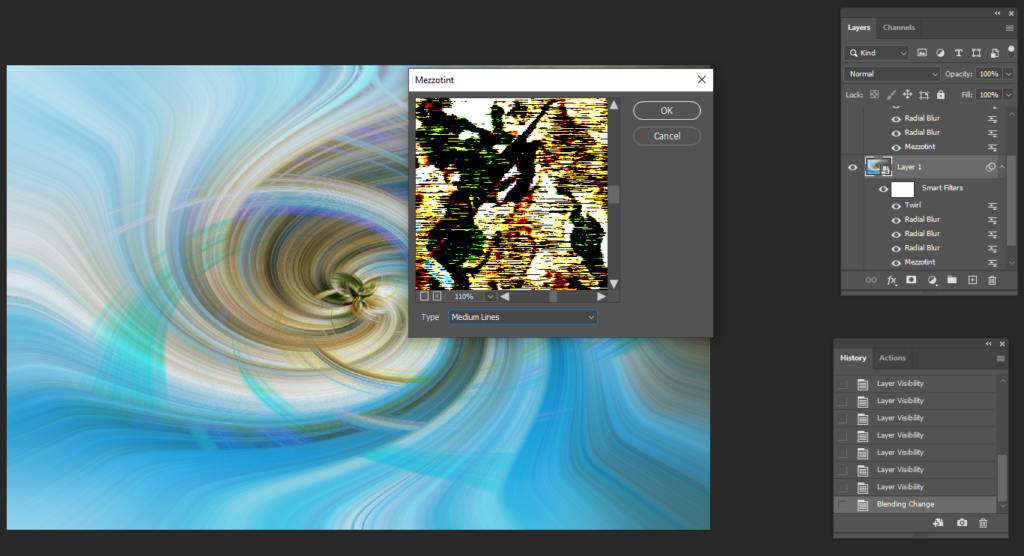
8. With the Layer 2 elected, change the blending mode, in our example Pin Light.

9. if you are not happy the result, double click Mezzotint or Twirl to make change. For example, from Mezzotint Medium Strokes to Medium Line.
10. If you would like to make our Twirl Symmetrical, Press Shift+Ctrl+Alt+E to merge both Layer 1 and Layer 2. Then go to Edit>Transform, and select Flip Horizontal.
Please view step by step video:
How to use Twirl in Photoshop step by step